
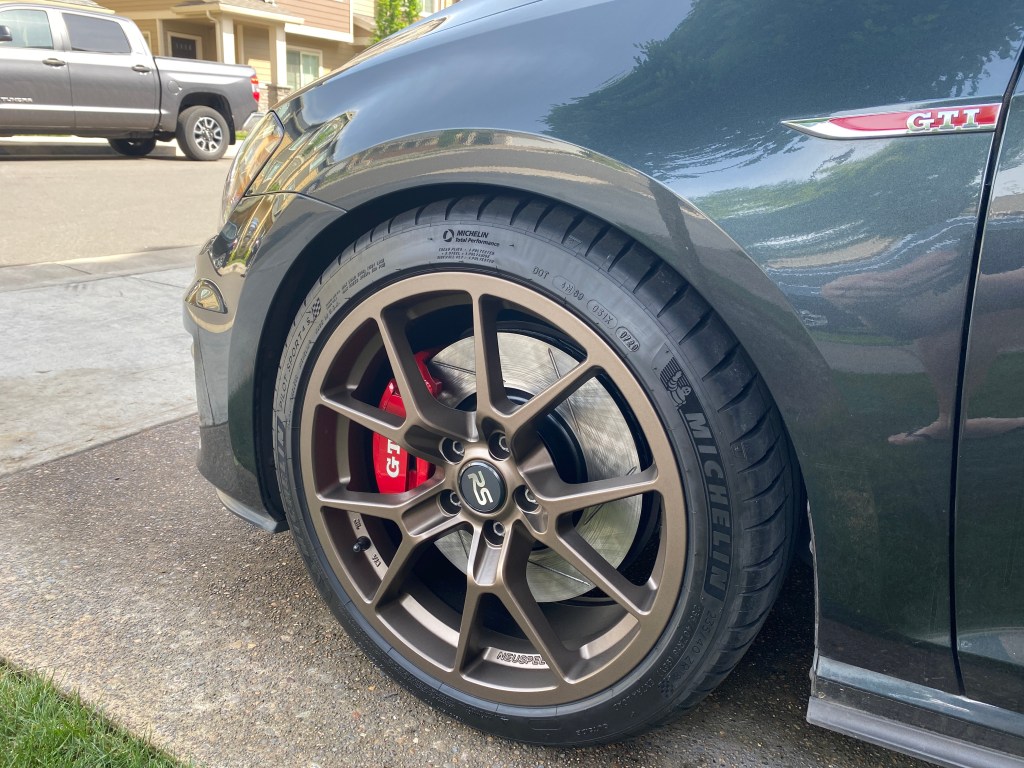
Recently, I purchased a brand-new set of wheels for my GTI. With my crazed addiction to cars, I decided that it was high time I got myself a set of wheels that would generally be out of my price range. I opted for Neuspeed’s RSe10 wheel in satin bronze. Perfect offset and color for the Mk7 GTI platform. Having spent a month’s worth of rent on these gorgeous wheels, I wanted to protect them. Being ever curious, I decided to try to ceramic coat them. With zero experience using ceramics and in full Late Brake style, I jumped in headfirst.
What is it?
Ceramic coating is a Si02 or silica dioxide coating that covers the exterior of your car, similar to wax. Ceramic coatings are more robust than wax, with professional level coatings lasting as long as ten years. What makes ceramic coatings so unique is the Si02 infusion. When the silica dioxide dries onto the paint and creates a layer of what is essentially glass. The depth and shine you see in ceramic-coated paint comes from this glass coating. Most modern ceramics can match an old-school carnauba wax if not beat the glow. Combine that with more robust protection and 10-year life, and you can see why for most detail enthusiasts, there is no going back to wax. Additionally, ceramic coatings decrease the contact angle of water beads, meaning water beads more easily than without one. This property makes your car stay cleaner for longer, and when you clean it, your car cleans even easier. Ceramic coatings are just like waxes, except they last longer and shine better.
How does it work?
Luckily for me, when I purchased the wheels, I still had my winter wheels on my car. Already having the wheels off the car made it easier to work on them as I didn’t have to fiddle with any jacks or lug nuts. Based on some reviews from friends, I picked up Adam’s Polishes Graphene Ceramic Coating. This stuff is a modern marvel. The kit comes with UV dye-infused ceramic coating with a UV flashlight so you can see where you have applied the layers. Using the flashlight makes the process significantly faster and easier to double-check your work. I’m sure detailing professionals know where the high spots are by looking, but I’ll take the flashlight.
The first step is to clean your wheel. The kit comes with an Isopropyl Alcohol spray to remove any cleaners, waxes, coatings, or anything left behind after the wash. A clean surface gives the ceramic coating a solid base to bond correctly. Once the wheel is prepared, drip the ceramic coating out onto the supplied suede microfiber. Using this suede microfiber is imperative as you could scratch the paint with any other kind. Apply the coating to the wheel and be sure to cover all surfaces. You then wait roughly 1-2 minutes for the coating to flash, and then you can buff it off with a separate suede microfiber tower. This flashing period happened quickly, so I had to break up my wheels into three sections. I started with the left half, then the right, and then the barrels to make sure I had time to cover everything before it flashed. Once the coating has been buffed away, you can use the UV light to determine if you have any high or low spots and make sure the coating is even. Continue to add more of the coating until you are satisfied with the coverage and finish. With ceramic coatings, it’s more important to be even than over-covered, so don’t overdo it. After you are completed, take a step back and feast your eyes upon the greatest your wheel will ever look.

Is it worth the work and the money?
Yes. 100%, yes. The color difference is unparalleled. The coating added such a deeper, warmer hue to the wheel. The bronze has so much more depth. This added color tone is even more noticeable with direct sunlight. You can see in the photo below the difference. The wheel on the right has the ceramic coating, and the one on the left does not. Sitting side-by-side, it starts to make the original finish look more silver than silver.
Having the color pop is nice, but what I liked the most about the coating was the ease of installation. Once your wheels are off the car and clean, it should only take you about 30 minutes or so to complete all four. Even if you were being super meticulous, it would be an hour at the most. The downside, however, is the cost. While doing it yourself is significantly cheaper, it’ll still cost you out about $120 for the kit. However, I did have enough left over to do my wife’s entire Tiguan exterior, so your $120 does go a long way. If the color is not worth it alone, you will see your most significant return when you wash it for the first time. My car has some horrendous brake dust, and it washes away with ease now. I almost don’t even have to wash them. The water from the hose takes away about 80% of the dust and dirt now. After trying ceramics, I will now use this on every car I ever have. In the words of The Mandalorian, “This is the way.”


Leave a Reply